QZ Tray “premium” support allows you to bypass the need to manually install the printer-cert.pem file on every account/device you want to use QZ with.
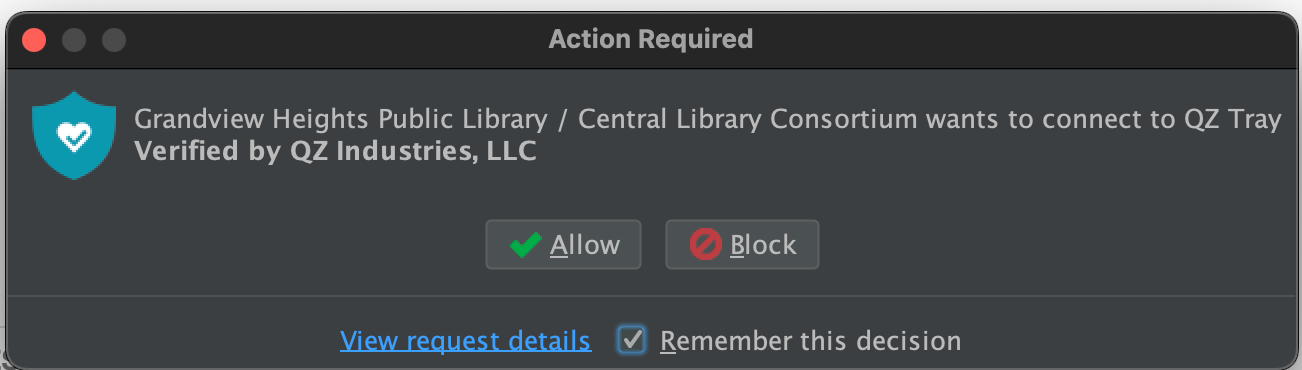
Instead, users will be presented with a dialog box like the following that they can accept and remember*:
Here are the instructions to perform this setup. This process was drawn out over several weeks, and we looped in Innovative support, so it is possible I’ve got something wrong here. If you try this and find a step is wrong, feel free to edit this Wiki article.
- Contact QZ Sales sales@qz.io to see if your organization qualifies for “Premium Sponsored” support.
- If not, you can purchase the premium support (for about $600) from https://buy.qz.io/
- Follow very carefully the instructions from QZ. There are parts where you have to paste in your product key where it looks like your password should go.
- Create an organizational reminder to renew this certificate after 1-year.
- Create your local files following the ExpressCheck or Leap instructions.
- QZ will ask you for the printer-key.pem file at one stage in their process.
- You’ll then be able to download a digital-certificate.txt file generated from your key file on their site.
- Rename the
digital-certificate.txtyou downloaded to printer-cert.pem. - Backup the existing printer-cert.pem on your server and then replace it with file downloaded from QZ Tray (the digital-certificate.txt you renamed to printer-cert.pem in the previous step).
- When you attempt to connect to QZ, you’ll be presented with a dialog similar to the one at the beginning of this article.
- You should be able to use the same key pair on other servers.
Removing the pop-up altogether
User-Level Storage
When a user selects Remember this decision, QZ Tray stores the authorization in a file named allowed.dat.
-
Path:
%APPDATA%\qz\ -
Behavior: This setting applies only to the specific Windows profile. If user profiles do not “roam” across the network, the user must manually accept the prompt on every new workstation they use.
Global Configuration
To bypass the pop-up for all users on a specific machine, move the authorization file to a global directory.
-
Generate the File: Accept the prompt on one machine to create the
allowed.datfile in the%APPDATA%\qz\folder. -
Copy the File: Copy
allowed.datfrom the user folder. -
Deploy Globally: Paste the file into the following directory:
C:\ProgramData\qz\
Result: QZ Tray will reference this global file, and no further prompts will appear for any user logging into that workstation.